Using Torus to connect to common social networks
For the past few years, Metamask has been the primary tool that DApps use to enable users to access their platform. For those with a deep understanding of crypto wallets, different networks, Ether, and ERC20 tokens, this isn’t an issue. For those without that advanced knowledge, Metamask is difficult to operate.


First of all, it’s a browser extension, which means it has to be installed prior to interacting with a DApp. When you eventually install it, the interface can be a bit overwhelming, unless you really know your stuff. Then, when you go to do something on a DApp, intimidating warning messages and confirmation approvals pop up.
It’s all enough to put any average user off, especially when there’s real monetary value involved.
An Online Wallet Without the Hassle
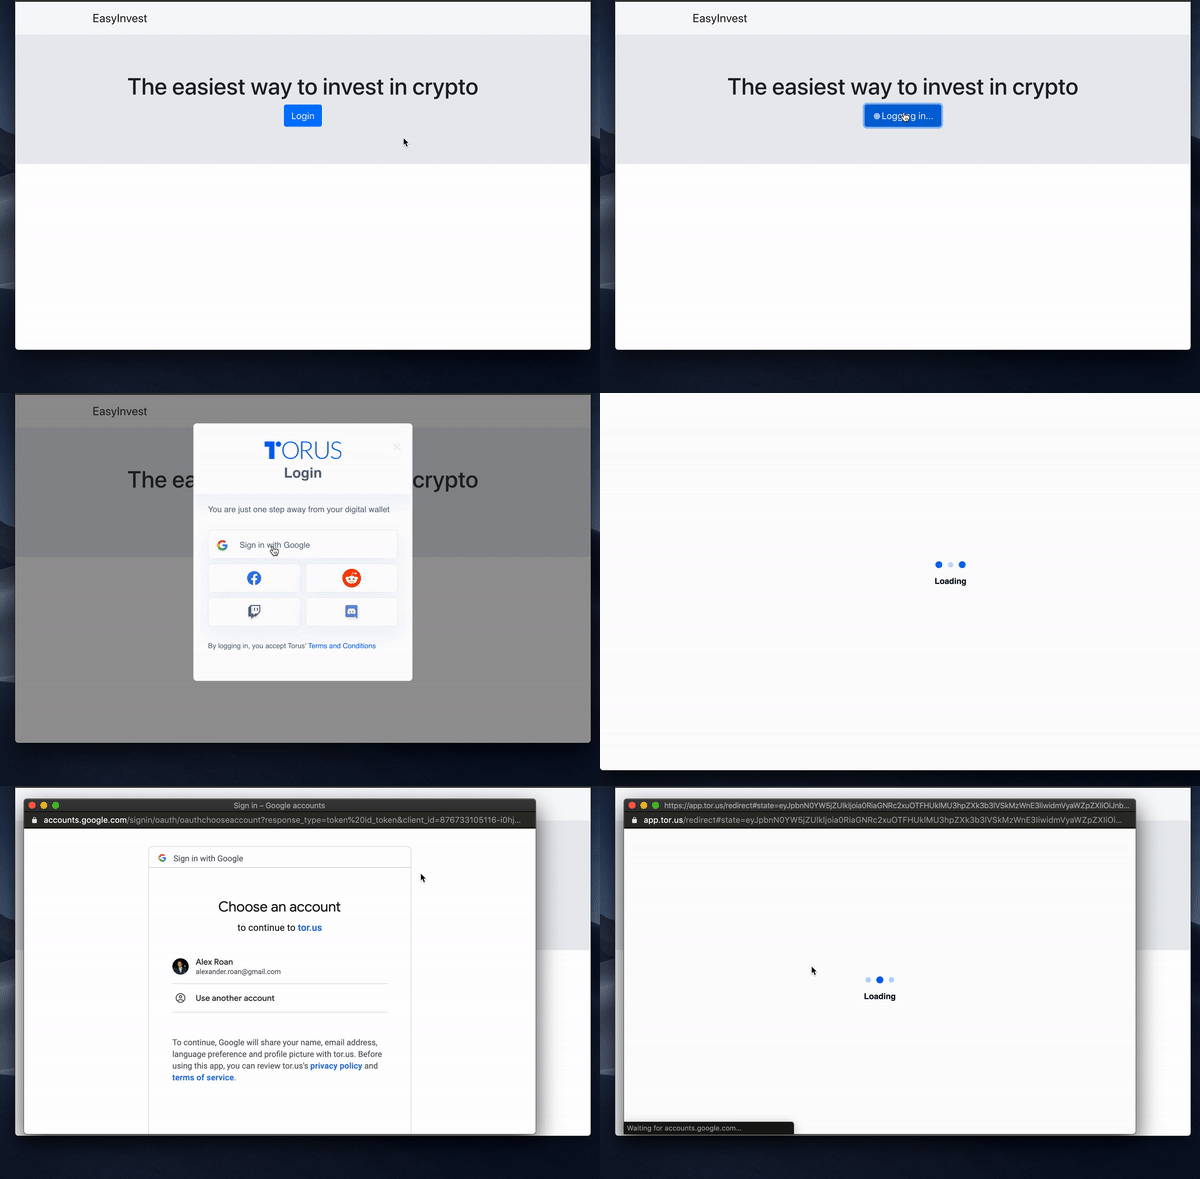
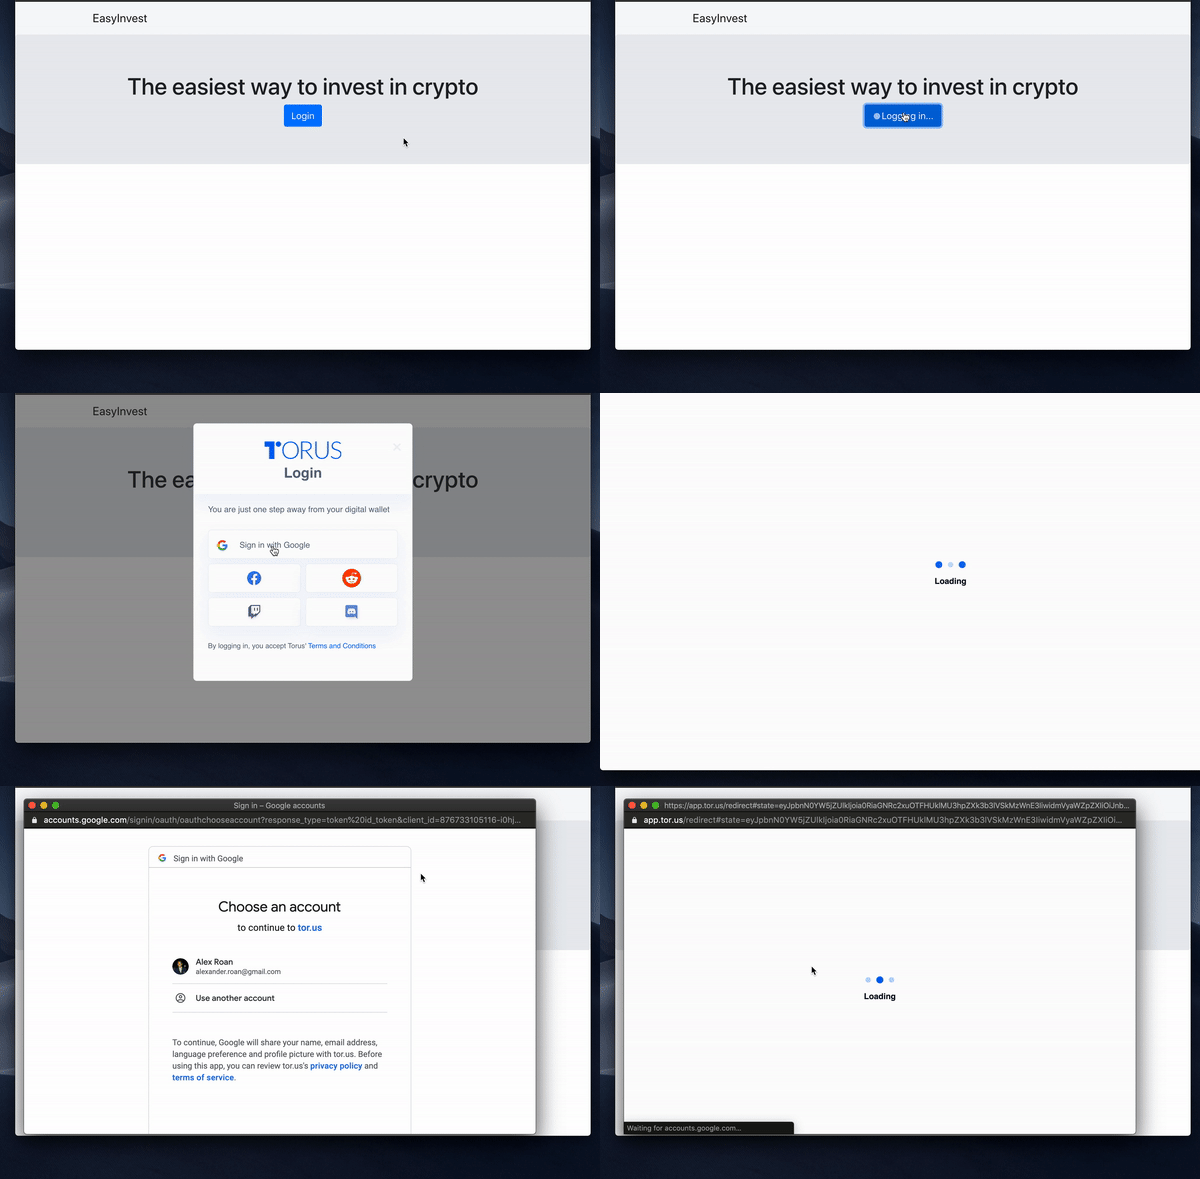
Torus is a project designed to make interacting with web3 DApps much slicker for the user. Instead of having to install a browser extension, and to keep a new password safe, you can log in using Facebook, Google, and a whole host of others. This brings logging into DApps into the 21st century.
Here’s how you can integrate Torus into your own project.
Install in Four Simple Steps
For the full documentation, go to Torus’s website.
Step 1: Install packages
The torus package can be found on NPM and installed using the following command:
npm install @toruslabs/torus-embed
In addition to Torus, you’ll need the Web3 JS package as usual. If you haven’t already, install it using the following command:
npm install web3
Step 2: Importing and requiring
In the file you wish to make the connection in, make sure you have the following code at the head of the file:
import Torus from "@toruslabs/torus-embed";
import Web3 from "web3";
Step 3: Initialize Torus
In the same file, we need to initialize the Torus object so that we can start interacting with it. To do this, copy the following into your file:
const torus = new Torus();
await torus.init();
Step 4: Login and initialize Web3
If you want your DApp to log the user in straightaway, paste these commands immediately below the previous lines. If you want the user to log on in the event of a button click, put these in the listener to that event.
await torus.login(); // await torus.ethereum.enable()
const web3 = new Web3(torus.provider);
This will prompt the user to login using whichever method they chose.


Their wallet addresses can be managed from the Torus website, or you can add functionality yourself by making use of their API.
From this point, use the web3 the instance you have from step four to interact with the Blockchain, just as you would with Metamask!


